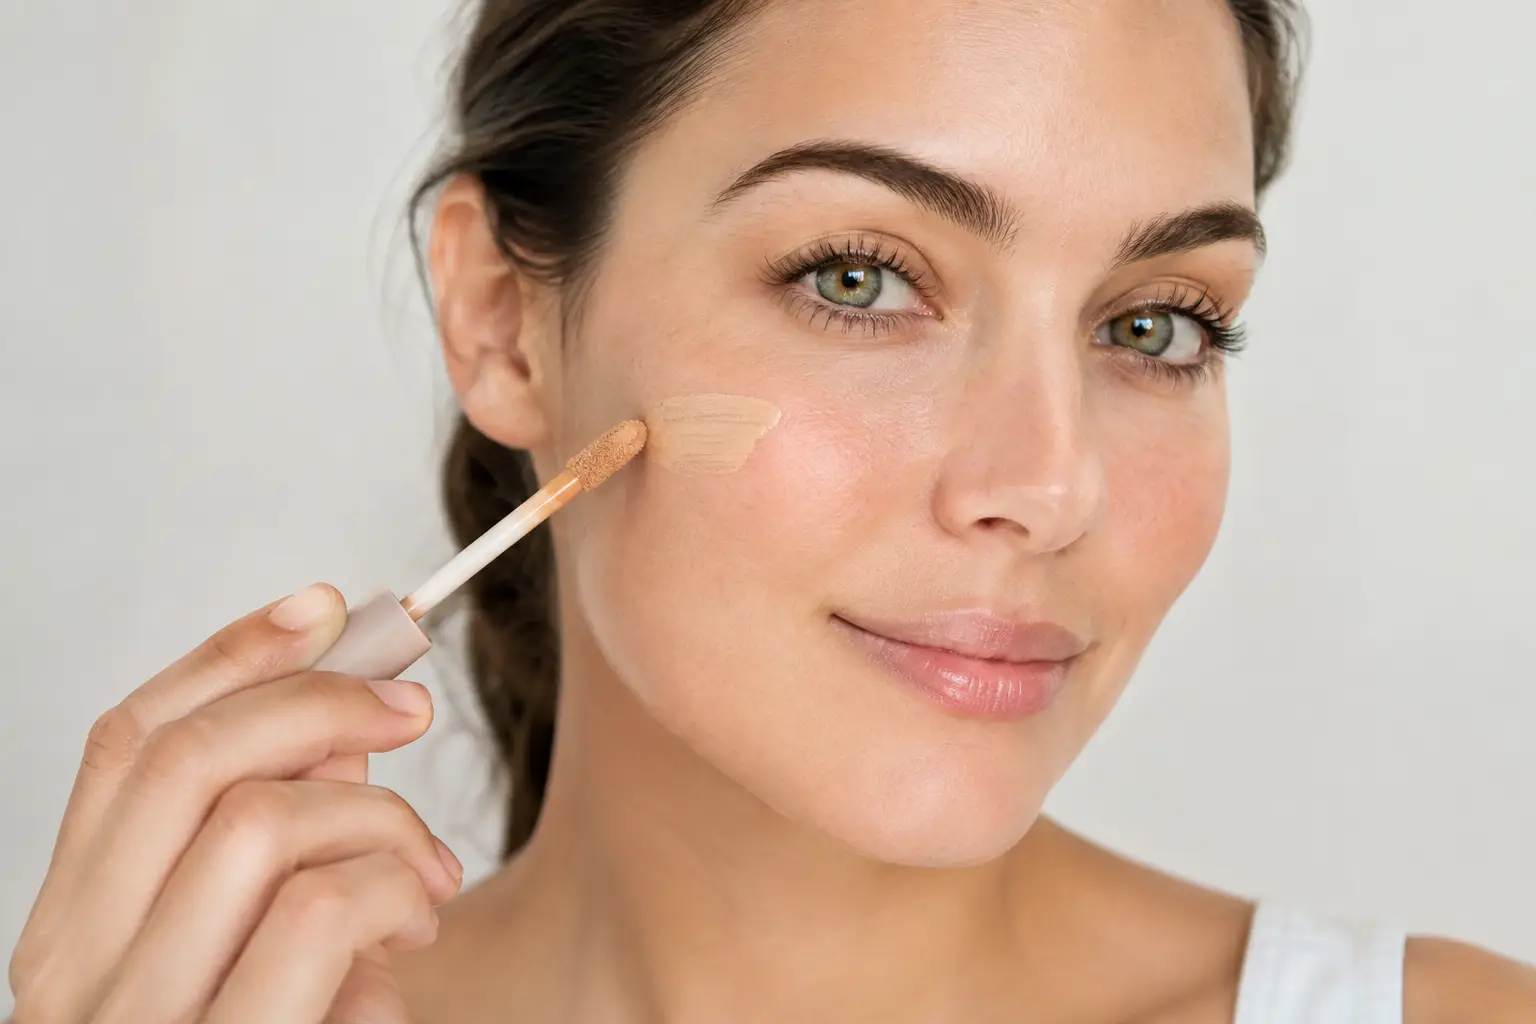
Can Makeup Conceal Redness Naturally? Yes.
Redness has a way of becoming the only thing you see in the mirror, especially when a wedding, photo session, gala, or important presentation is ahead. The good news is that can makeup conceal redness naturally is not really a yes-or-no question. With thoughtful skin preparation, precise color correction, and lightweight complexion products, makeup can soften visible redness beautifully without creating a heavy, mask-like finish.
The goal is not to erase every hint of natural color from your face. Healthy skin has dimension, and a little warmth in the cheeks can look lovely. The goal is to create an even, calm-looking canvas so your eyes, smile, and features remain the focus.
Can makeup conceal redness naturally without looking heavy?
Yes, provided the coverage is placed where it is needed rather than applied everywhere. Redness often shows up around the nose, across the cheeks, on the chin, or near active blemishes. Applying a full-coverage foundation over the entire face may cover those areas, but it can also flatten the skin and feel uncomfortable by the end of a long event.
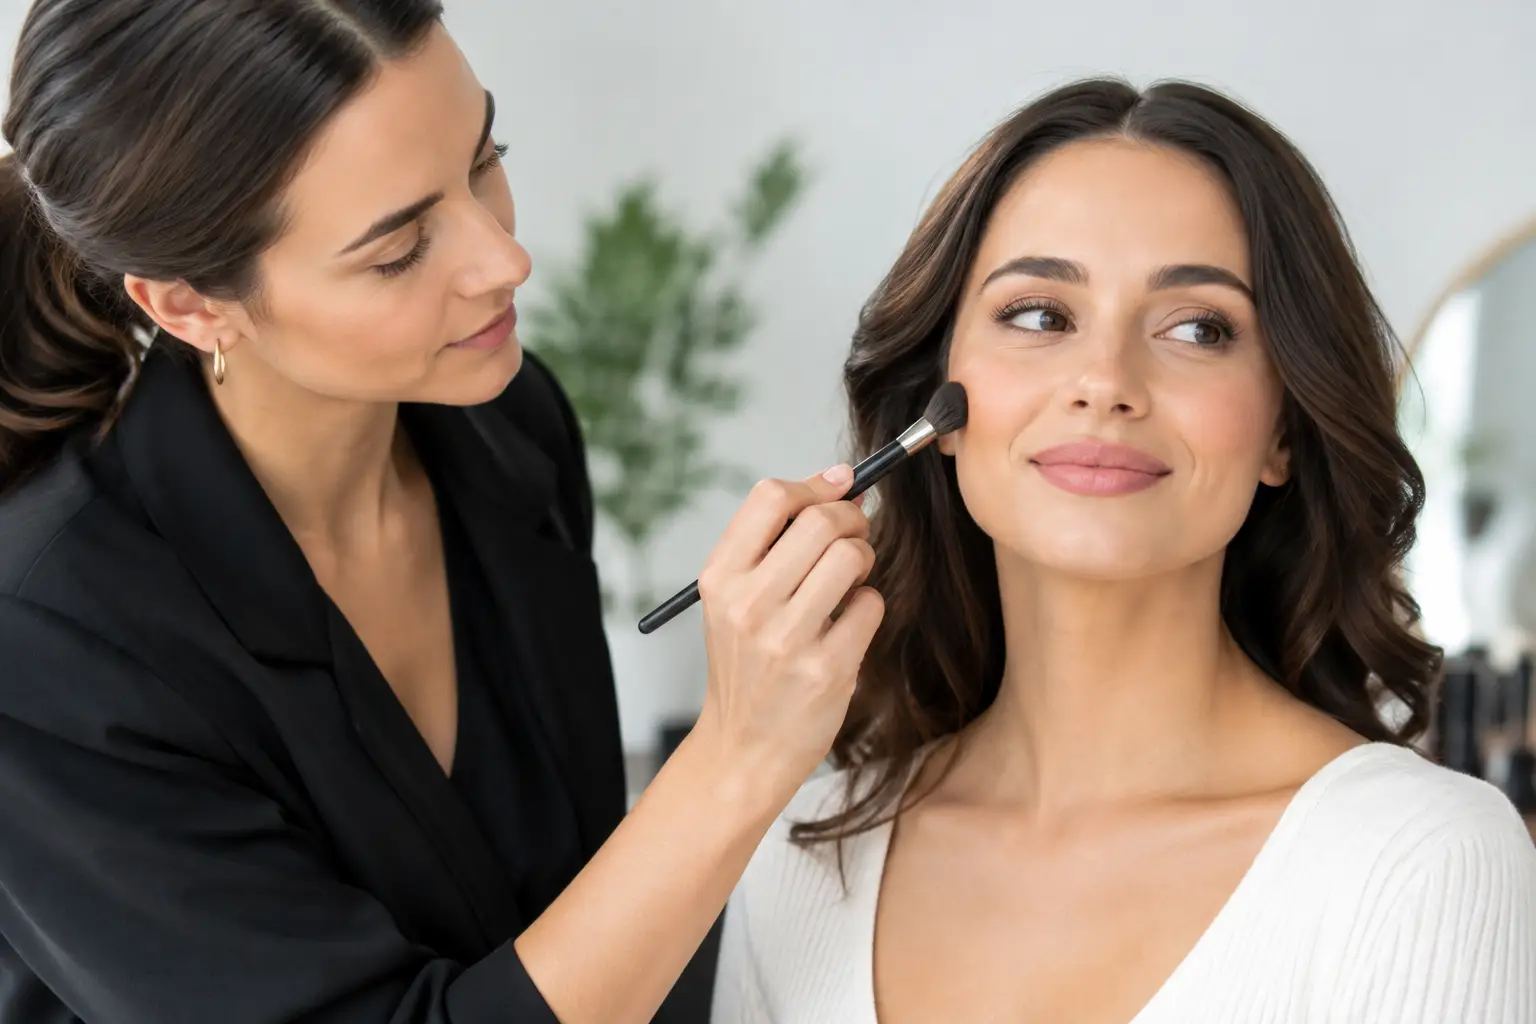
A natural result comes from layering in thin, intentional amounts. Think of it as balancing the complexion, not burying it. A professional makeup application can be especially helpful for camera-facing occasions because flash photography, indoor lighting, and long wear all reveal different sides of redness and texture.
Your skin’s cause of redness also matters. Temporary flushing after exercise, mild blemish-related redness, and naturally rosy cheeks respond differently than sensitivity from irritation or a chronic skin concern. Makeup can improve the appearance of redness, but it is not a substitute for medical guidance when redness is persistent, painful, itchy, or changing.
Start with calm, hydrated skin
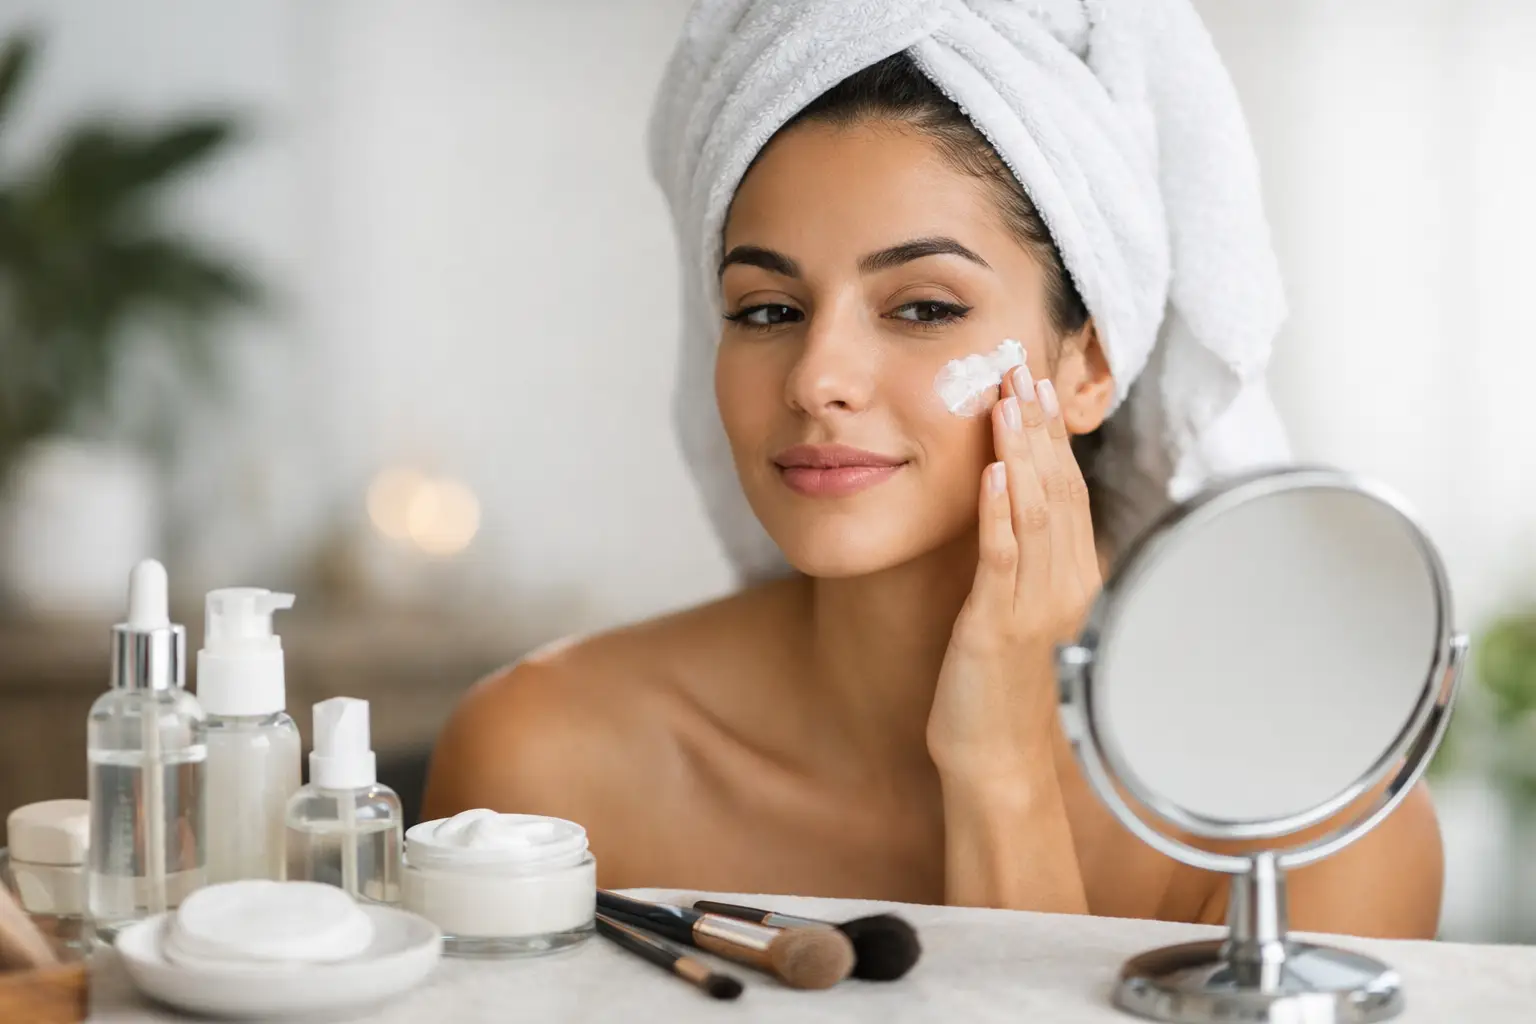
The most natural concealer technique starts before concealer ever touches the skin. When skin is dehydrated or irritated, foundation tends to catch on dry patches and make red areas look more noticeable. A gentle, familiar skincare routine helps create the smoothest possible surface.
Before a special event, avoid experimenting with strong exfoliants, new active ingredients, or aggressive treatments. Even products that normally work well can cause unexpected sensitivity when layered with stress, travel, weather changes, or a busy event schedule. If you are prone to redness, keep the days leading up to your appointment simple: cleanse gently, moisturize consistently, and use sunscreen during the day.
On makeup day, the right moisturizer and primer should support your skin type. Someone with dry, reactive skin may need comforting hydration and a radiant base, while someone with oilier skin may prefer a light, balancing primer only through the center of the face. More product is not always better. Skin that feels cushioned, not slick, holds makeup more gracefully.
Give skincare time to settle
One small detail makes a noticeable difference: allow skincare to absorb before makeup begins. When moisturizer, sunscreen, primer, and foundation are applied too quickly in succession, products can pill or separate. A few quiet minutes between layers helps the complexion look more refined and wear more evenly.
Use color correction only where redness shows
Green color corrector can be useful because green visually offsets red tones. But it is also easy to overdo. A thick green layer across the cheeks often leaves skin looking gray, dull, or overly made up once foundation is added.
For a soft-glam, skin-focused finish, use the smallest amount of a muted green corrector directly on concentrated red areas. Pat it on with a small brush, sponge, or clean fingertip rather than rubbing. The correction should look subtle before foundation goes on. If it looks distinctly green in the mirror, there is probably too much.
Not all redness requires green correction. Mild diffuse pinkness may disappear with a medium-coverage skin tint or foundation alone. For isolated blemishes, a pinpoint amount of correction followed by concealer usually looks more believable than adding coverage to the whole cheek.
Match foundation to the neck and chest
A common mistake is choosing a foundation shade that is too pink in an attempt to blend redness away. This can make the face appear more flushed, particularly in photographs. Instead, foundation should match the neck and chest as closely as possible, with an undertone that brings balance rather than additional warmth.
The best shade is not necessarily the one that disappears over the reddest part of the cheek. Check it along the jawline in natural light whenever possible. For brides and clients being photographed, Taylor Bailey Makeup Artist also considers how the makeup will translate under the event’s lighting, from bright outdoor ceremonies to warmly lit reception spaces.
Build coverage in light layers
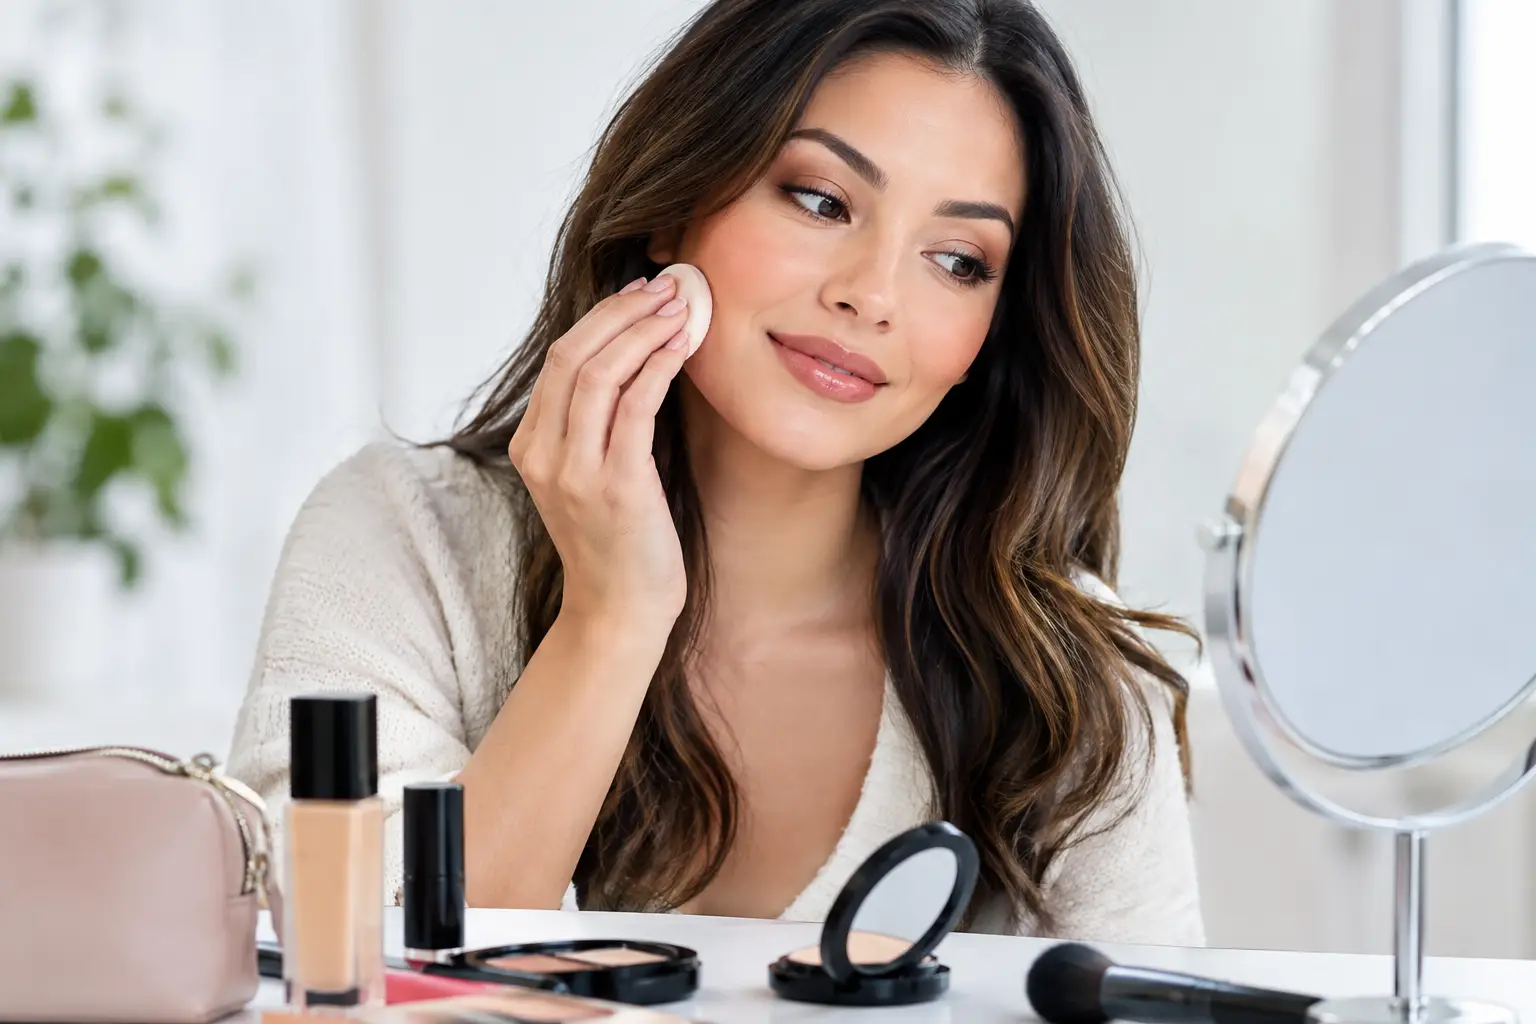
After color correction, apply foundation in a sheer to medium layer across the face. A damp sponge can give a softly diffused finish, while a brush may offer more polish and control. Either tool can work well. The right choice depends on the formula, your skin texture, and the coverage you need.
Then pause and assess. Often, the complexion looks nearly even after one layer. Add concealer only to the remaining areas of redness, pressing it in gently so it blends into the foundation rather than sitting on top of it.
This targeted approach preserves the natural highs and lows of the face. It also holds up better over time. Thick layers can break apart around the nose, smile lines, and blemishes, while thin layers are easier to refresh if you become warm or emotional during the day.
For prominent blemishes, choose a concealer with enough pigment to cover without requiring repeated coats. Let each thin layer set briefly before adding another. Pat around the edges until there is no visible border, then set only if needed.
Set strategically, then bring life back to the face
Powder is helpful for keeping coverage in place, especially around the nose and chin. However, applying powder heavily over every red area can emphasize dryness and make the skin look less natural. Press a small amount into areas that crease, shine, or need longevity, and leave healthier, smoother parts of the face with a soft skin finish.
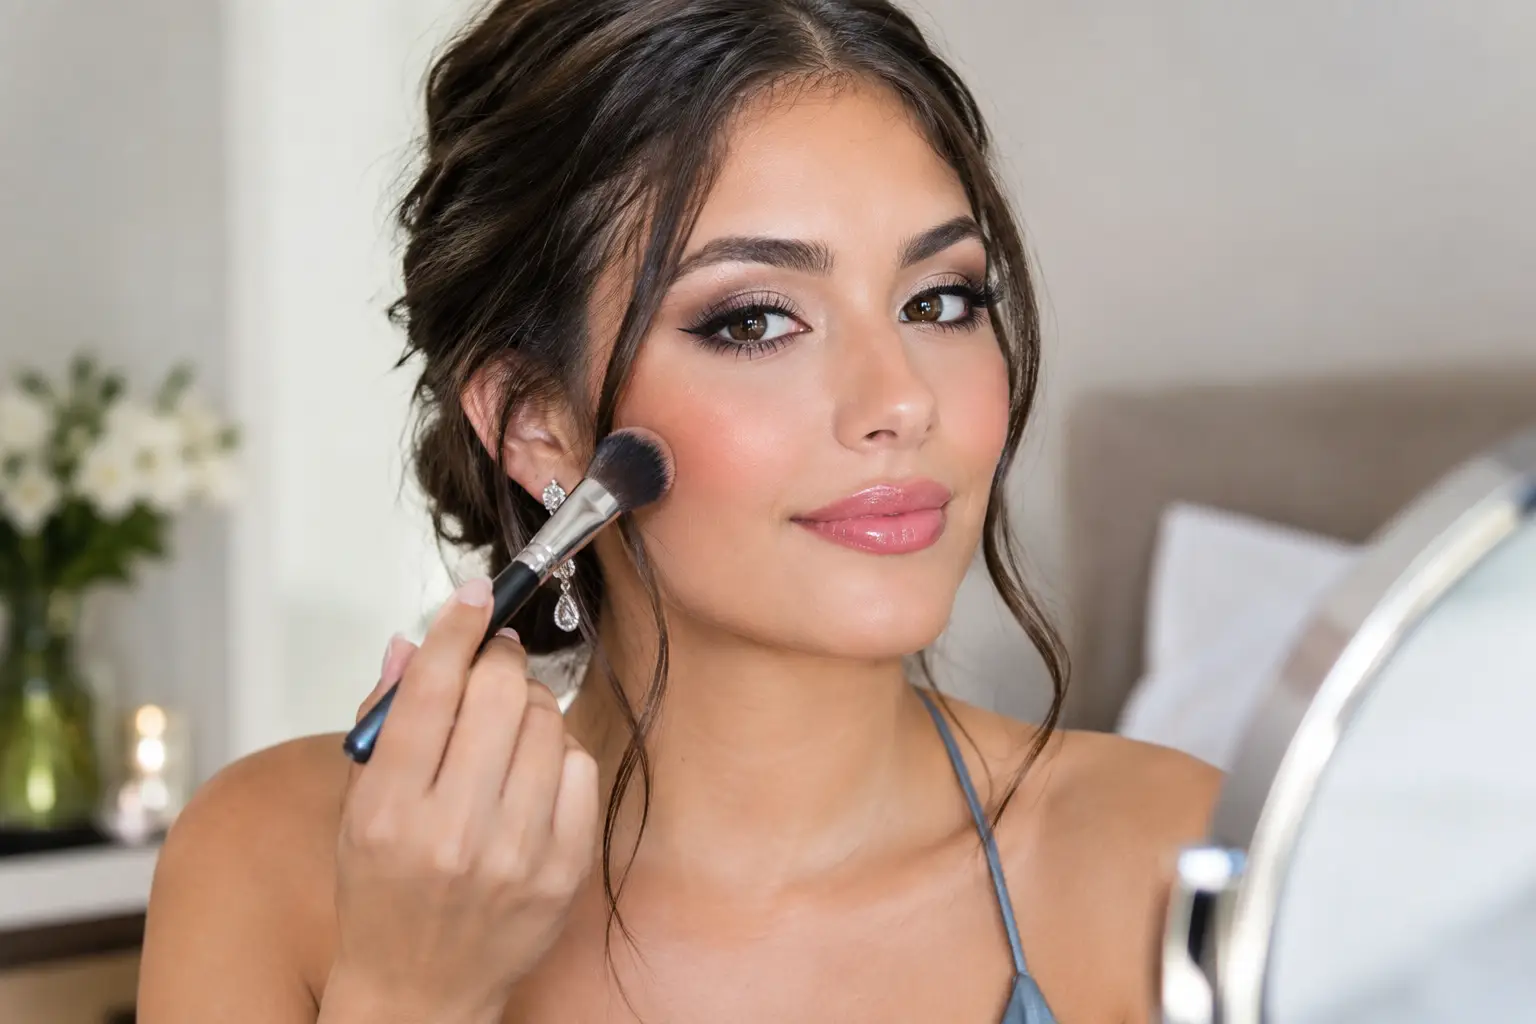
Once the complexion is balanced, cream blush can restore a believable flush. The key is placement and shade. A neutral rose, soft peach, or muted berry can look more natural than a bright, saturated blush when redness is a concern. Place it slightly higher on the cheeks rather than directly over the reddest central area, then blend the edges well.
Bronzer and a subtle highlight can also add dimension, but restraint matters. The most elegant event makeup lets the skin look like skin from conversation distance and in photographs.
Plan for long wear, warmth, and touch-ups
Redness can reappear when you are warm, nervous, dancing, or moving between indoor and outdoor settings. That does not mean the makeup has failed. Skin responds to temperature and emotion, particularly during meaningful occasions.
A long-wear setting spray and thoughtfully chosen base products help minimize movement, but a small touch-up plan provides extra peace of mind. Blotting papers are often better than repeatedly adding powder, which can build up over the day. After blotting, press a tiny amount of concealer onto any area that needs renewed coverage and blend with a clean fingertip or small sponge.
If you know you flush easily, mention it during your makeup consultation or trial. Your artist can choose formulas, placement, and setting techniques that suit your skin and the pace of your event. This is also the time to share sensitivities, acne concerns, and products you already know do not agree with your skin.
When natural coverage is the better choice
Natural-looking coverage does not mean minimal makeup for everyone. For some clients, a polished medium-coverage complexion feels most like themselves. For others, a sheer tint and spot concealing is plenty. The right amount is the one that helps you feel comfortable, confident, and recognizable when you look in the mirror.
If redness is paired with flaking, active irritation, or significant texture, trying to force a perfectly airbrushed finish can be frustrating. A softer, hydrated approach generally looks more beautiful than chasing total coverage. The camera will still see your expression, your joy, and the care that went into the overall look.
Give your complexion a little patience, use coverage with intention, and let the final result feel polished rather than overcorrected. When makeup works with your skin instead of against it, redness becomes just one small detail, not the center of your day.