How to Prevent Makeup Flashback in Photos
A complexion can look beautifully natural in the mirror, then appear pale, powdery, or strangely white in a flash photo. If you are wondering how to prevent makeup flashback, the answer is not simply wearing less makeup. It is about choosing formulas that work with your skin, your lighting, and the way you will be photographed.
Flashback is especially frustrating before a wedding, gala, headshot session, or milestone event because it often does not appear until the photos are taken. The good news is that it is preventable with thoughtful skin preparation, strategic product choices, and a few camera-aware finishing techniques. You can still have soft, luminous makeup that looks like you – just more polished.
What Causes Makeup Flashback?
Makeup flashback happens when certain ingredients reflect a camera flash. In a photo, they can make areas of the face look lighter than the neck and chest, create a white cast under the eyes, or leave visible patches where powder was applied. It is most noticeable in evening photography, indoor venues, and any setting where a direct flash is used.
The most common culprits are mineral sunscreen ingredients such as zinc oxide and titanium dioxide, along with some high-definition powders containing silica. These ingredients are not inherently bad. In fact, mineral sunscreen can be an excellent choice for everyday skin protection, and silica can give makeup a smooth finish in person. The issue is that they can reflect light differently under flash photography.
Heavy layers can make the effect more obvious. A light dusting of powder may photograph beautifully, while baking the under-eye area or repeatedly adding powder throughout the evening can create a bright, dry-looking cast. The goal is not to fear powder or sunscreen. It is to use the right formula, in the right amount, for the occasion.
How to Prevent Makeup Flashback Before Your Appointment
Camera-ready makeup starts before foundation ever touches the skin. When skin is balanced, hydrated, and properly prepped, there is less need for excess concealer and powder later. That is one reason skin preparation is a major part of a refined, long-wearing makeup application.
Begin with hydrated, calm skin
Dry or dehydrated skin can make clients reach for more foundation and setting powder, which increases the chance of a textured or chalky finish in photos. Use a moisturizer appropriate for your skin type and give it a few minutes to absorb. For dry skin, a nourishing but not overly greasy moisturizer can help foundation blend smoothly. For oily or combination skin, a lightweight hydrating formula is often enough.
Avoid trying an aggressive new exfoliant, peel, or acne treatment right before an important event. Irritation, flaking, or unexpected breakouts make makeup harder to apply evenly. If you are preparing for a wedding or professional photoshoot, establish your skincare routine well in advance and keep it consistent during the final week.
Think carefully about sunscreen
For daytime outdoor events, sunscreen remains essential. The key is selecting a formula that wears well under makeup and understanding the photography plan. Some mineral SPFs may create a visible cast, particularly on deeper skin tones or when direct flash is involved. Many chemical or hybrid sunscreens are less likely to flash back, but every skin type and sensitivity level is different.
If you will be outdoors in daylight and photographed without a strong flash, a well-formulated sunscreen is usually the right choice. If you will be photographed at night or in a dimly lit reception space, speak with your makeup artist about the best approach for your schedule. Skin safety always matters, and product choices should reflect both your exposure to sunlight and your camera conditions.
Share the details of your event
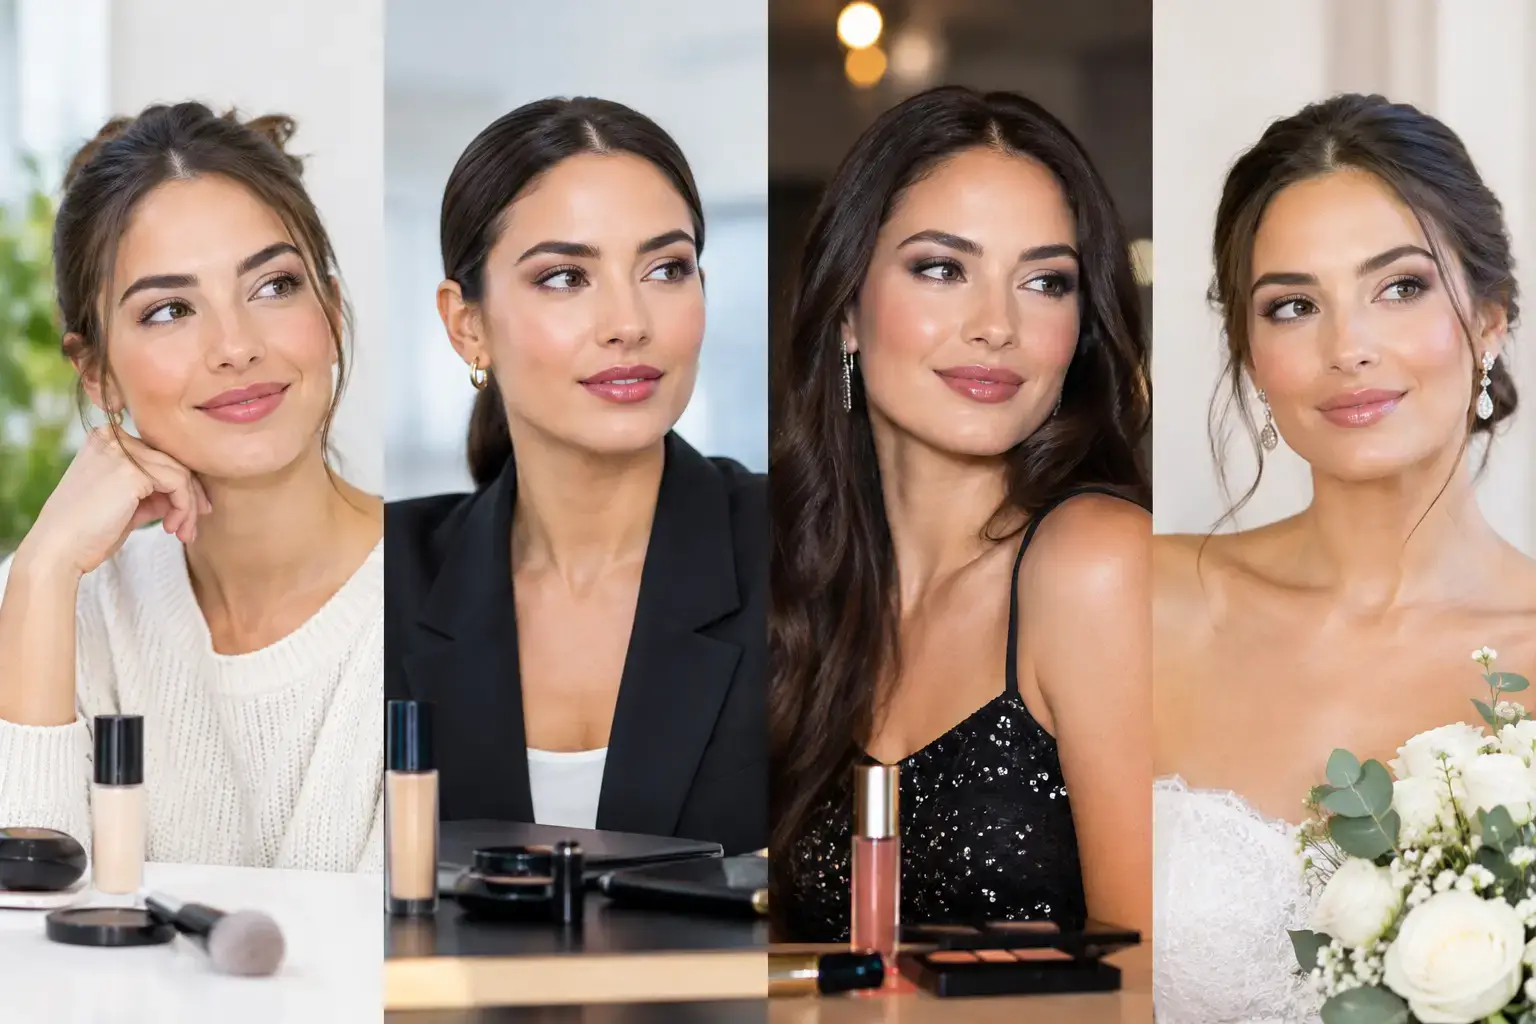
Your makeup artist should know whether you are having outdoor portraits, a candlelit reception, a red-carpet-style step-and-repeat, or professional studio headshots. These situations call for slightly different finishing choices. A bridal look may need to perform through daylight portraits, ceremony tears, dancing, and flash photography, while a headshot look may be tailored to controlled studio lighting.
Bring inspiration photos if you have them, but also mention practical details: the time of day, venue lighting, dress neckline, whether your chest and shoulders will be visible, and if a photographer plans to use flash. This allows your artist to create continuity between your face, neck, and body rather than focusing on the face alone.
Choose Camera-Friendly Makeup Products
A camera-friendly routine does not have to mean full coverage or matte makeup. Soft glam can be fresh, skin-like, and luminous while still being designed to photograph well. The difference is in formula balance and precise placement.
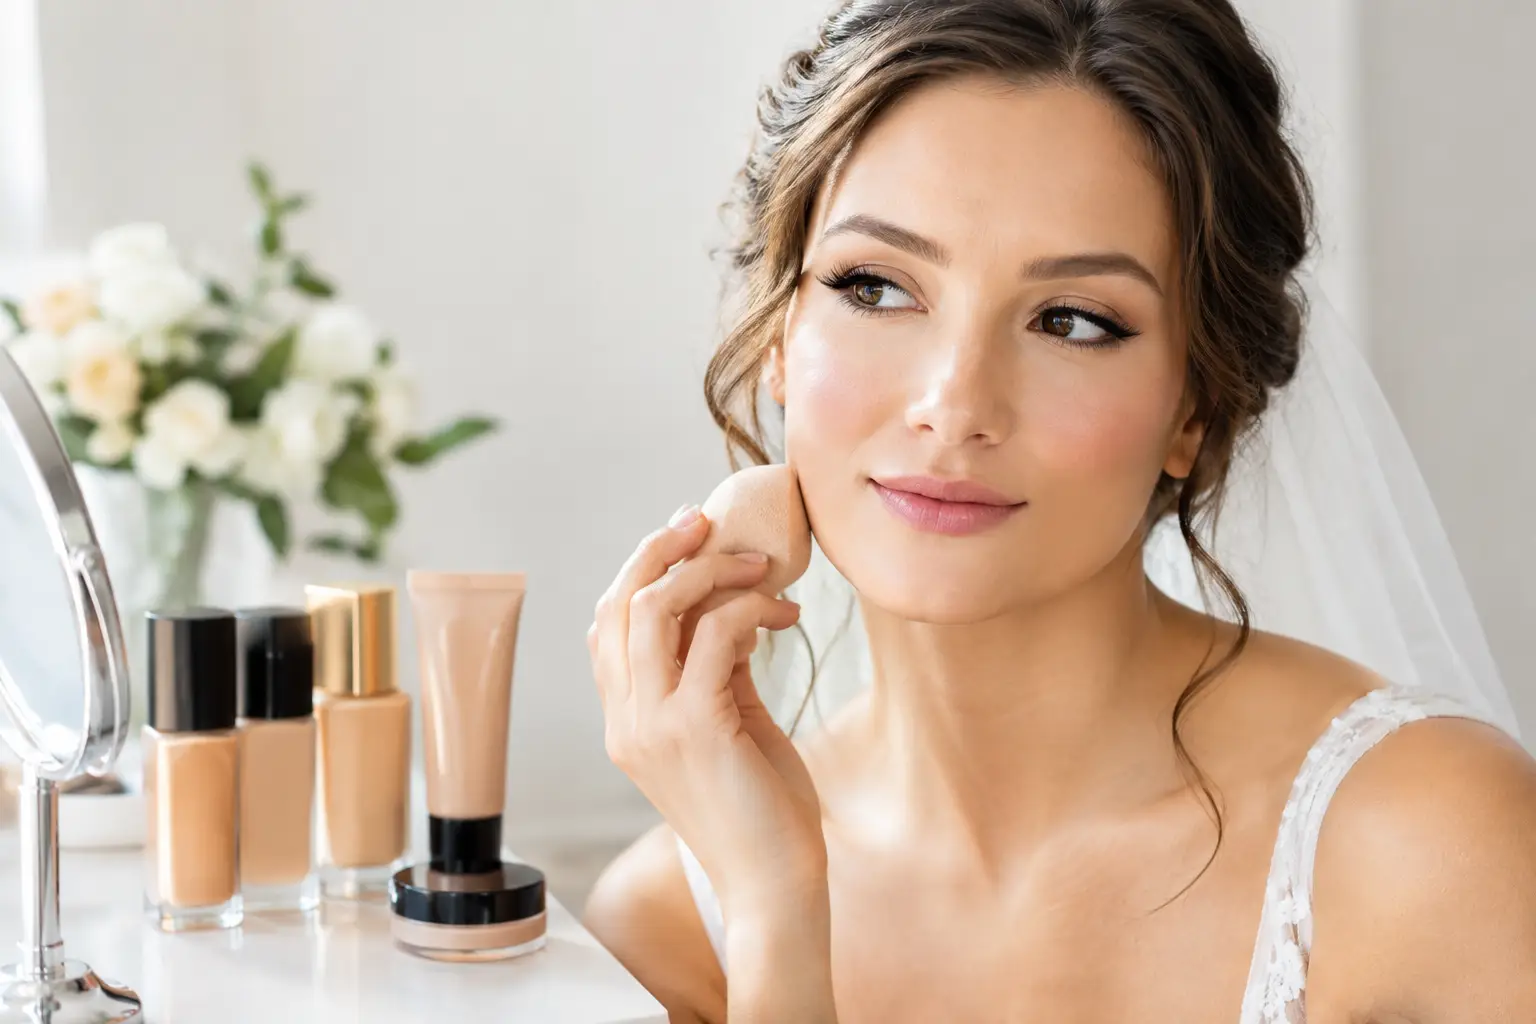
Foundation should match your face, neck, and chest in both depth and undertone. Testing a shade only along the jawline is helpful, but checking it in natural light is even better. A foundation that is too light may look more dramatic when combined with flash, especially if the neck and body are warmer or deeper in tone.
Concealer deserves the same restraint. Many people choose a concealer several shades lighter than their skin tone in pursuit of a lifted under-eye effect. In flash photos, that bright contrast can read as a white or gray band beneath the eyes. A concealer close to your complexion, perhaps only slightly brighter, tends to look more natural and elegant on camera.
When selecting a setting powder, look for an option tested for flash photography or one without a high concentration of reflective ingredients. A finely milled translucent powder can still work well, but apply it lightly and press it into areas that genuinely need it, such as the sides of the nose, chin, and center of the forehead. Under the eyes, use only enough to set creasing, not enough to create a thick matte layer.
Highlighter can also change dramatically under flash. A soft satin sheen placed high on the cheekbones is often lovely. A frosty or glitter-heavy highlighter across the face may create bright points that distract from the skin. For photos, a luminous cream blush or subtle liquid illuminator underneath foundation can provide a more believable glow than piling powder shimmer on top.
Application Techniques That Make a Difference
The best way to prevent flashback is often less about one miracle product and more about how each layer is applied. Thin, even layers give the skin dimension and allow the makeup to move comfortably throughout the day.
Start with a light layer of foundation, then add coverage only where it is needed. Redness around the nose, dark circles, blemishes, and discoloration can be corrected with targeted concealer rather than extra foundation across the entire face. This creates a more natural finish in person and reduces buildup that cameras can emphasize.
Set cream products deliberately. Cream blush, bronzer, and contour can create depth that still looks natural under flash, especially when lightly set with a coordinating powder formula. A face that is entirely matte can look flat, but a face that is too glossy can reflect venue lighting in unpredictable ways. The most flattering finish is usually balanced: softly set through the center of the face with healthy-looking radiance on the high points.
Do not forget the body. If your shoulders, décolletage, or arms are visible, make sure the finish of your complexion makeup does not stop abruptly at the jawline. Blend carefully down the neck as needed, and avoid body products with a strong white pearl or heavy glitter that may reflect flash. The aim is cohesion, not a mask-like effect.
Test Your Makeup With a Flash
A quick flash test is one of the most useful steps before leaving for an event. Take a photo facing forward with the rear camera and flash on, then take one at a slight angle. Check the under-eye area, center of the forehead, chin, sides of the nose, and anywhere you applied sunscreen or powder.
If you see a white cast, do not panic and start removing everything. First, gently press a clean sponge over the area to lift excess product. If needed, tap a small amount of skin-toned powder or foundation over the patch to restore warmth and balance. Adding more translucent powder is rarely the answer.
For a wedding day, a professional makeup artist can perform this check as part of the final look, especially when flash photography is expected. At Taylor Bailey Makeup Artist, skin preparation and product selection are tailored to the client, the event timeline, and the finish they want to see both in person and in photographs.
Small Touch-Ups, Not More Layers
As the day goes on, blot oil before adding more powder. Pressing a blotting sheet or clean tissue onto shiny areas removes excess oil without creating the buildup that can lead to flashback. Then, if necessary, apply a very small amount of powder only where shine returns.
Keep touch-ups restrained around the under-eyes. Smudged mascara, tears, or creasing concealer may need attention, but repeatedly layering concealer and powder can turn a soft, bright under-eye into a dry-looking one. A makeup artist can recommend a simple touch-up plan based on your skin type, event length, and the climate.
The most photogenic makeup is not the heaviest or most matte. It is the makeup that respects your skin, matches your coloring, and is finished with intention. Give yourself enough time for thoughtful preparation, ask for a flash test when photos matter, and let your natural features remain the focus long after the camera goes off.