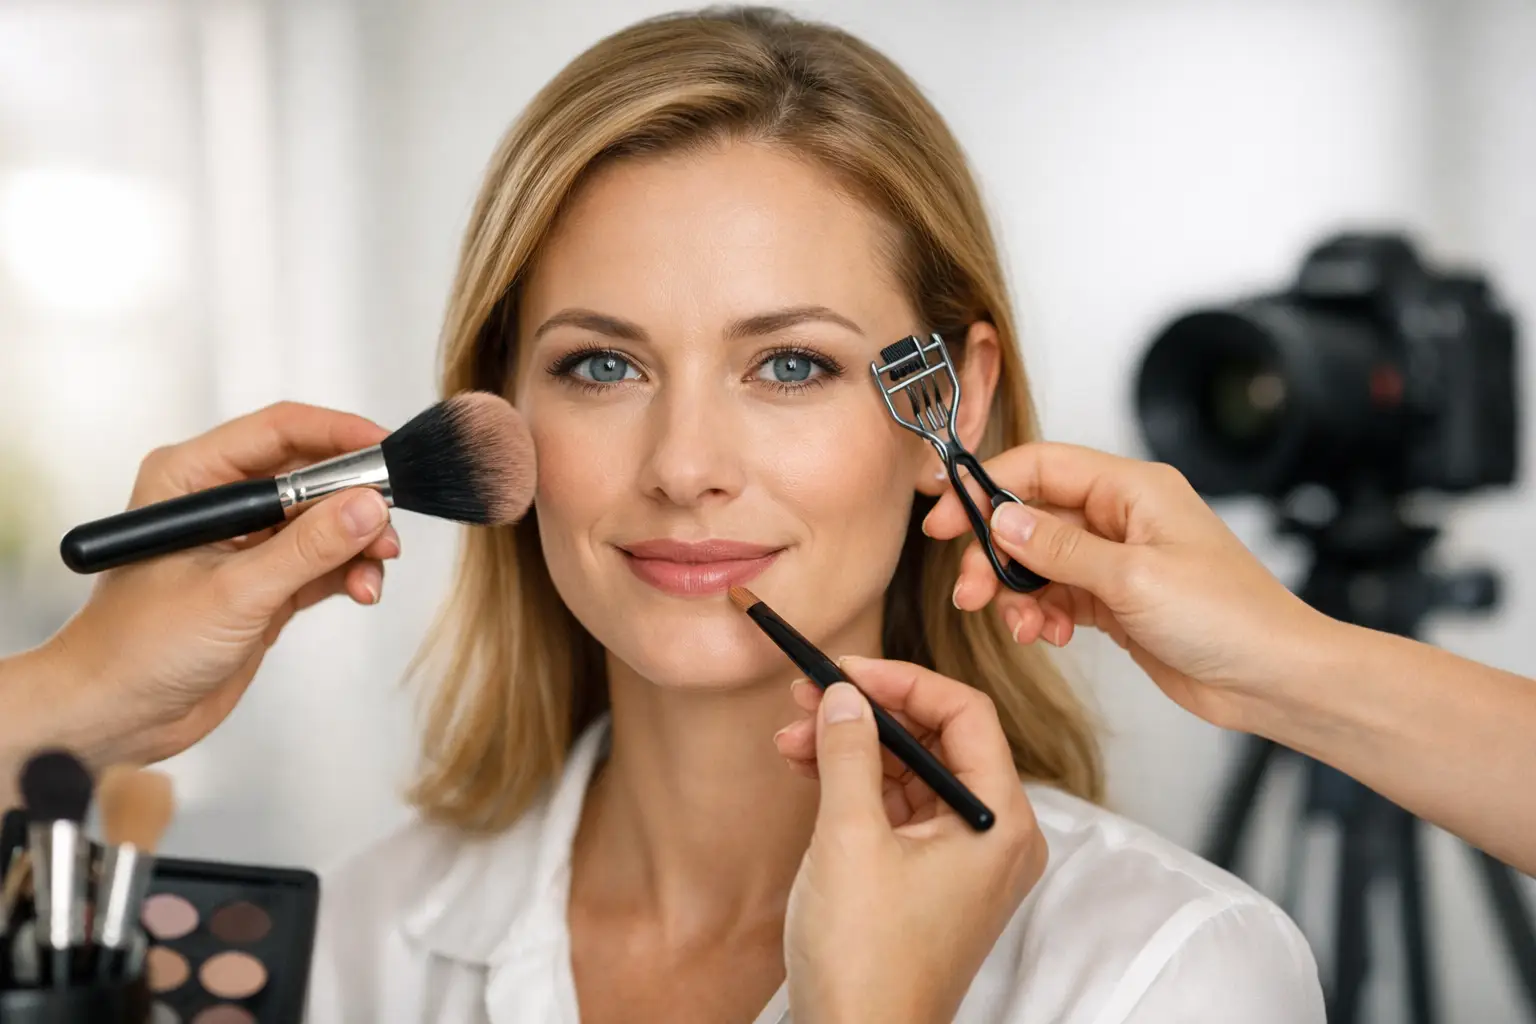
Headshot Makeup Preparation Guide for Photos
A strong headshot should look like you on a particularly well-rested, confident day. This headshot makeup preparation guide is designed to help you arrive feeling prepared, whether you are updating LinkedIn, photographing a new website, preparing for a speaking engagement, or creating images for a personal brand. The goal is not to wear more makeup than usual. It is to create thoughtful, skin-focused polish that reads beautifully in professional lighting and still feels authentic when you look in the mirror.
Start With the Purpose of Your Headshot
Before choosing a lipstick or booking your appointment, consider where the image will live. A corporate headshot, a creative entrepreneur’s website, a real estate profile, and a speaker’s event bio can all call for slightly different levels of definition. Your photographer’s background, lighting style, and the color of your outfit also affect how makeup appears on camera.
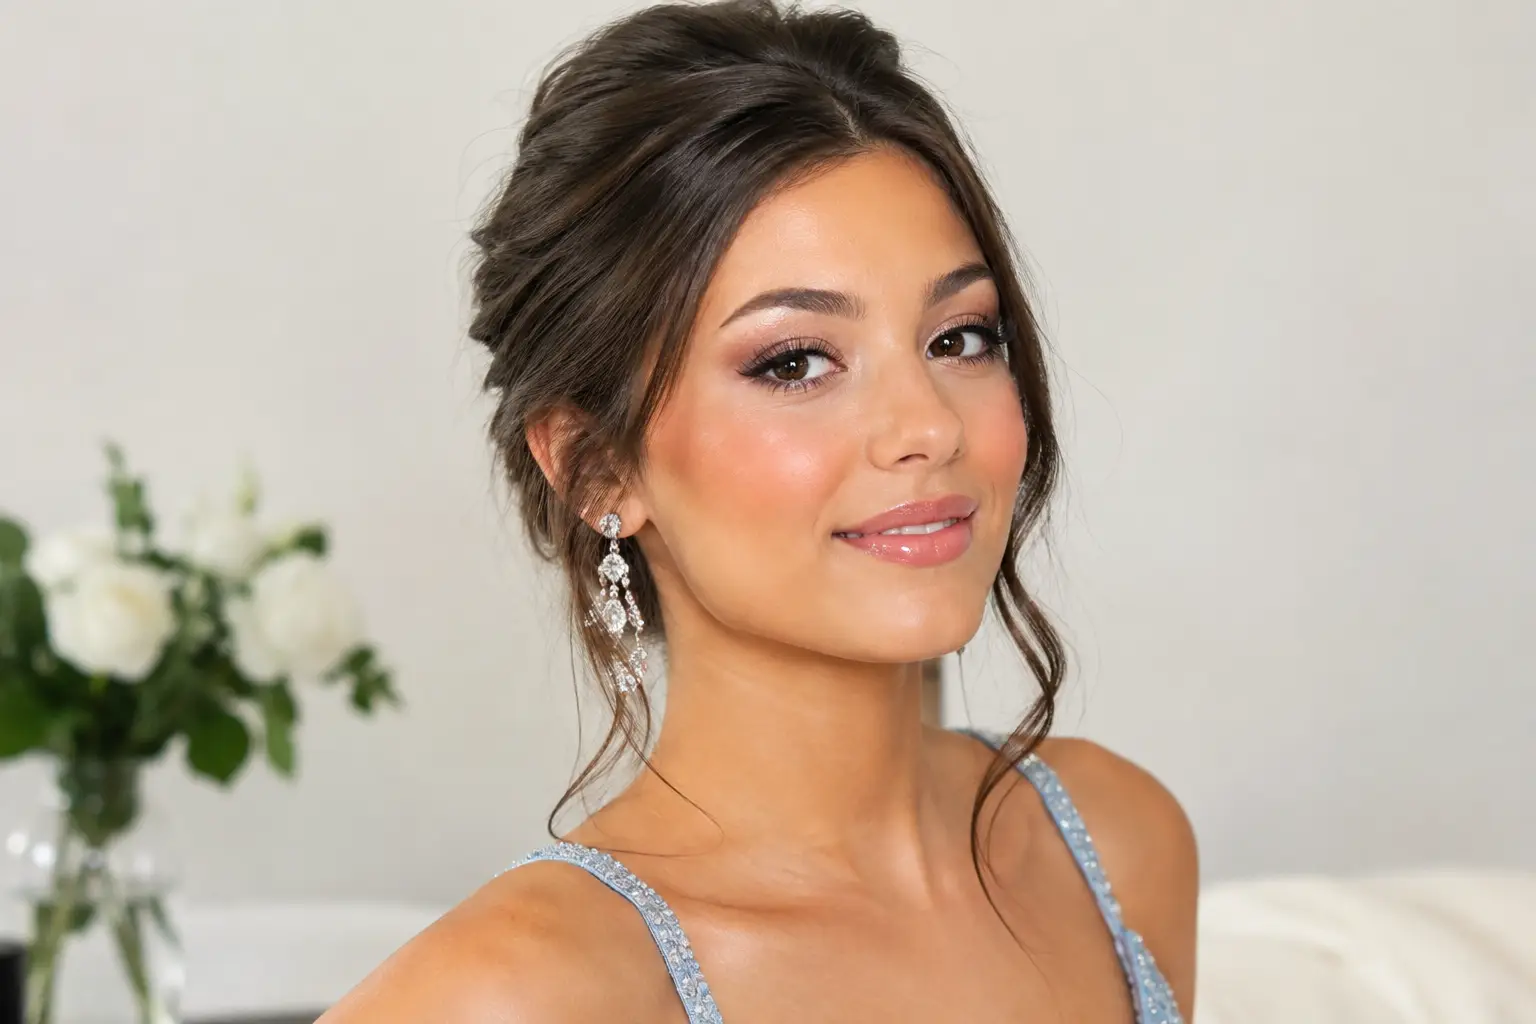
For most professional headshots, soft glam is the right balance. Skin should look even and healthy rather than heavily covered. Eyes need enough definition to remain visible under bright lighting, while blush and lip color should bring life to the face without becoming the first thing viewers notice. If your industry is more creative or your personal style is naturally bold, a richer lip or a more defined eye can absolutely work. The best choice depends on whether it still feels like you.
It helps to gather one or two reference images that reflect the overall mood you want, not a long list of conflicting makeup looks. A skilled artist can use those references to understand your comfort level, then tailor the placement, tones, and coverage to your features.
Give Your Skin Time to Settle
Camera-ready makeup starts before the makeup chair. Even exceptional foundation performs better on skin that is comfortable, hydrated, and not reacting to a brand-new product. If possible, begin simplifying your routine one to two weeks before your session rather than experimenting with a dramatic facial, peel, or active skincare product.
The Week Before Your Session
Focus on the routine your skin already knows. Cleanse gently, use your usual moisturizer, and wear sunscreen during the day. If exfoliation is a regular and well-tolerated part of your routine, keep it light and avoid overdoing it. Aggressive exfoliation can leave dry patches or irritation that makeup cannot fully disguise.
If you are prone to breakouts, avoid picking or squeezing. A professional makeup application can thoughtfully reduce redness and create balanced coverage, but freshly irritated skin tends to look more textured in close-up photography. If you have a persistent concern, such as acne, rosacea, eczema, or very reactive skin, share that information before your appointment. Product selection and skin prep can be adjusted with both comfort and longevity in mind.
Plan other beauty appointments carefully. Brow shaping is best done several days in advance so redness has time to fade. If you receive a wax, facial hair removal, or a chemical treatment, allow enough recovery time for your own skin. The right timeline varies, especially for sensitive skin, so familiar treatments are safer than trying something new before photos.
The Night Before and Morning Of
The night before, cleanse and moisturize as usual. Skip a new overnight mask, retinoid, or strong resurfacing treatment. Drink water, get as much rest as your schedule allows, and set out the clothing and accessories you plan to wear. Removing those small decisions from the morning helps you arrive calm.
On the day of your headshot, come with a clean, moisturized face unless your artist has given you different instructions. Avoid applying a thick layer of sunscreen, facial oil, or gripping primer right before your appointment. Those products can sometimes change how professional makeup sits or wears. A simple moisturizer that has had time to absorb is generally ideal.
Choose Makeup That Holds Up in Professional Lighting
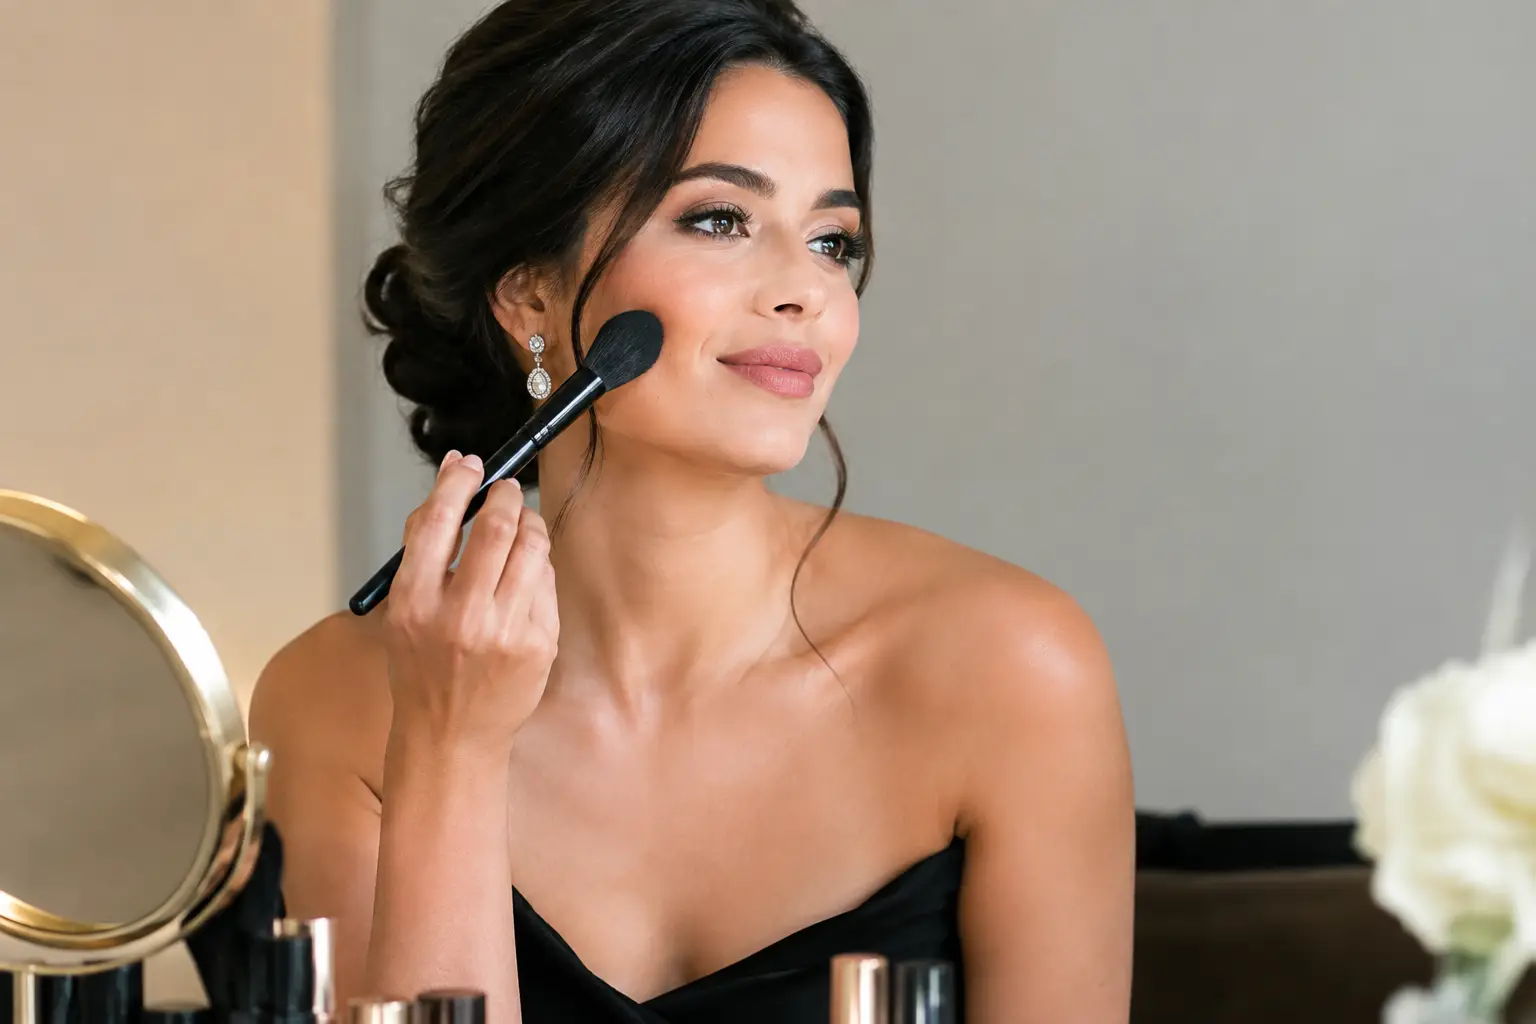
Headshot makeup is not everyday makeup, but it should not feel like a costume either. Studio lights and camera settings can soften features, reduce natural dimension, and make skin look flatter than it does in person. The answer is strategic definition, not excess product.
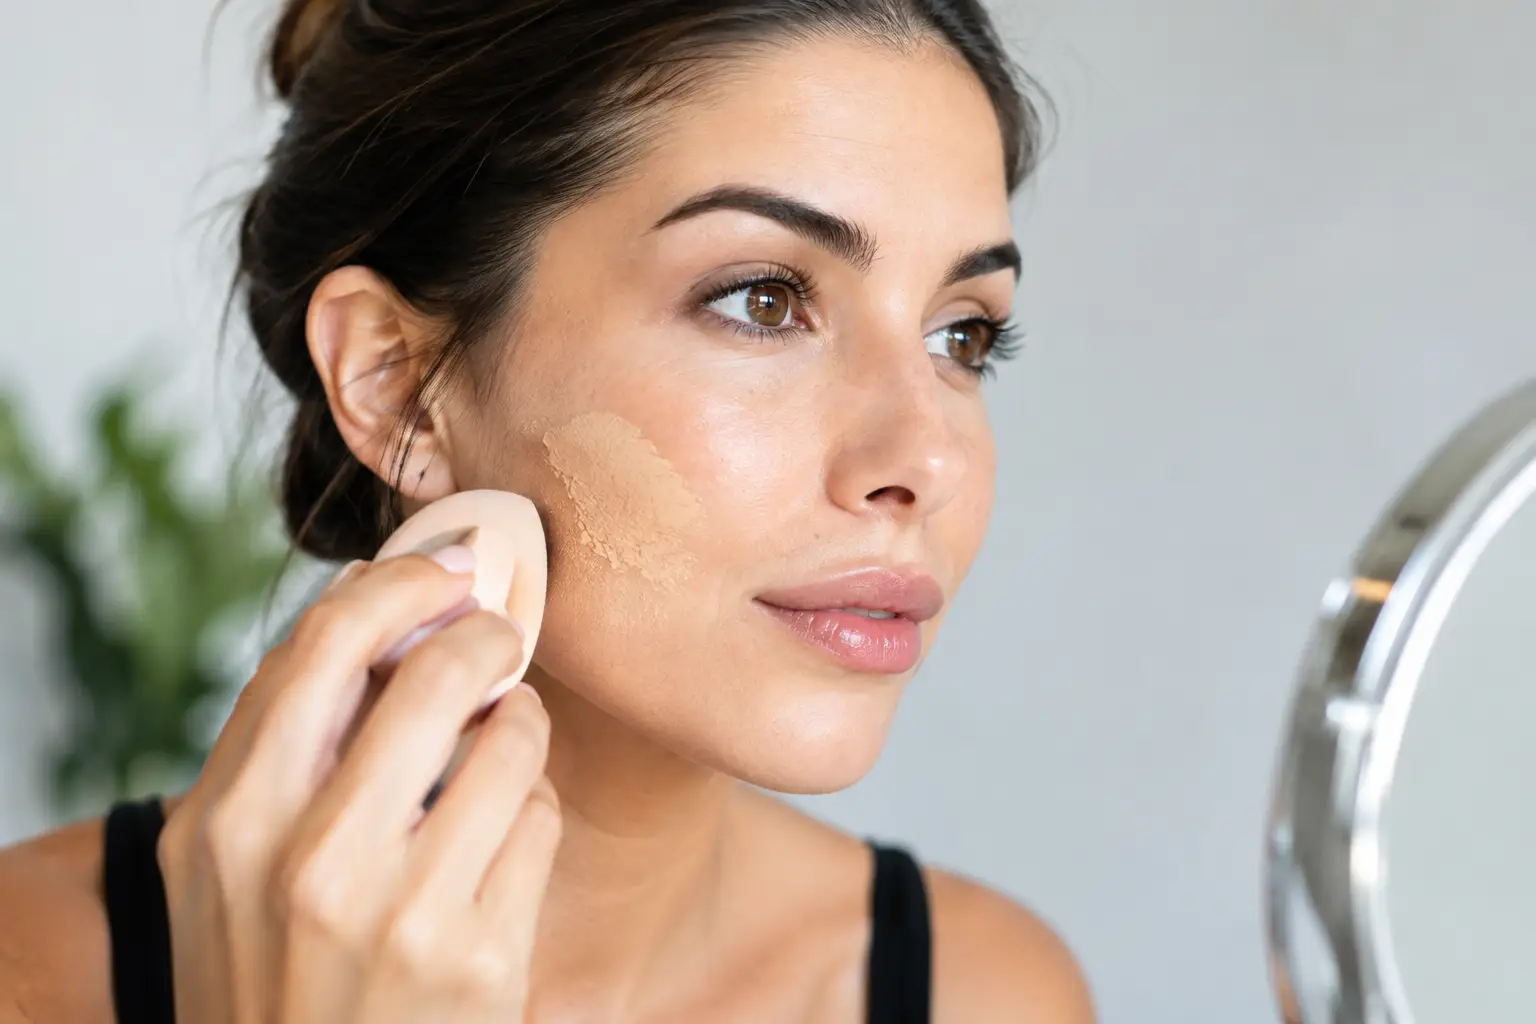
A well-prepared complexion often includes targeted color correction where needed, complexion products matched carefully to the neck and chest, and concealer placed where it makes the most impact. The finish should be natural and refined. Too much powder can appear dry or emphasize texture, while too much shine may look distracting under certain lights. The most flattering approach is often a balanced satin finish, with intentional glow on the high points of the face rather than all-over luminosity.
Brows frame the face, so they deserve attention even if you normally keep them minimal. They do not need to be sharply drawn or overly dark. Softly filling sparse areas and setting brow hairs in place creates shape without taking away from your expression.
For the eyes, neutral tones that complement your skin tone and eye color tend to photograph well. Mascara and subtle liner help define the lash line, particularly for clients with lighter lashes or hooded eyes. False lashes are optional. A natural half lash or individual lashes can add gentle definition, while a fuller strip may be better suited to someone who already enjoys a more noticeable makeup look. Comfort matters, because a headshot is strongest when your expression is relaxed.
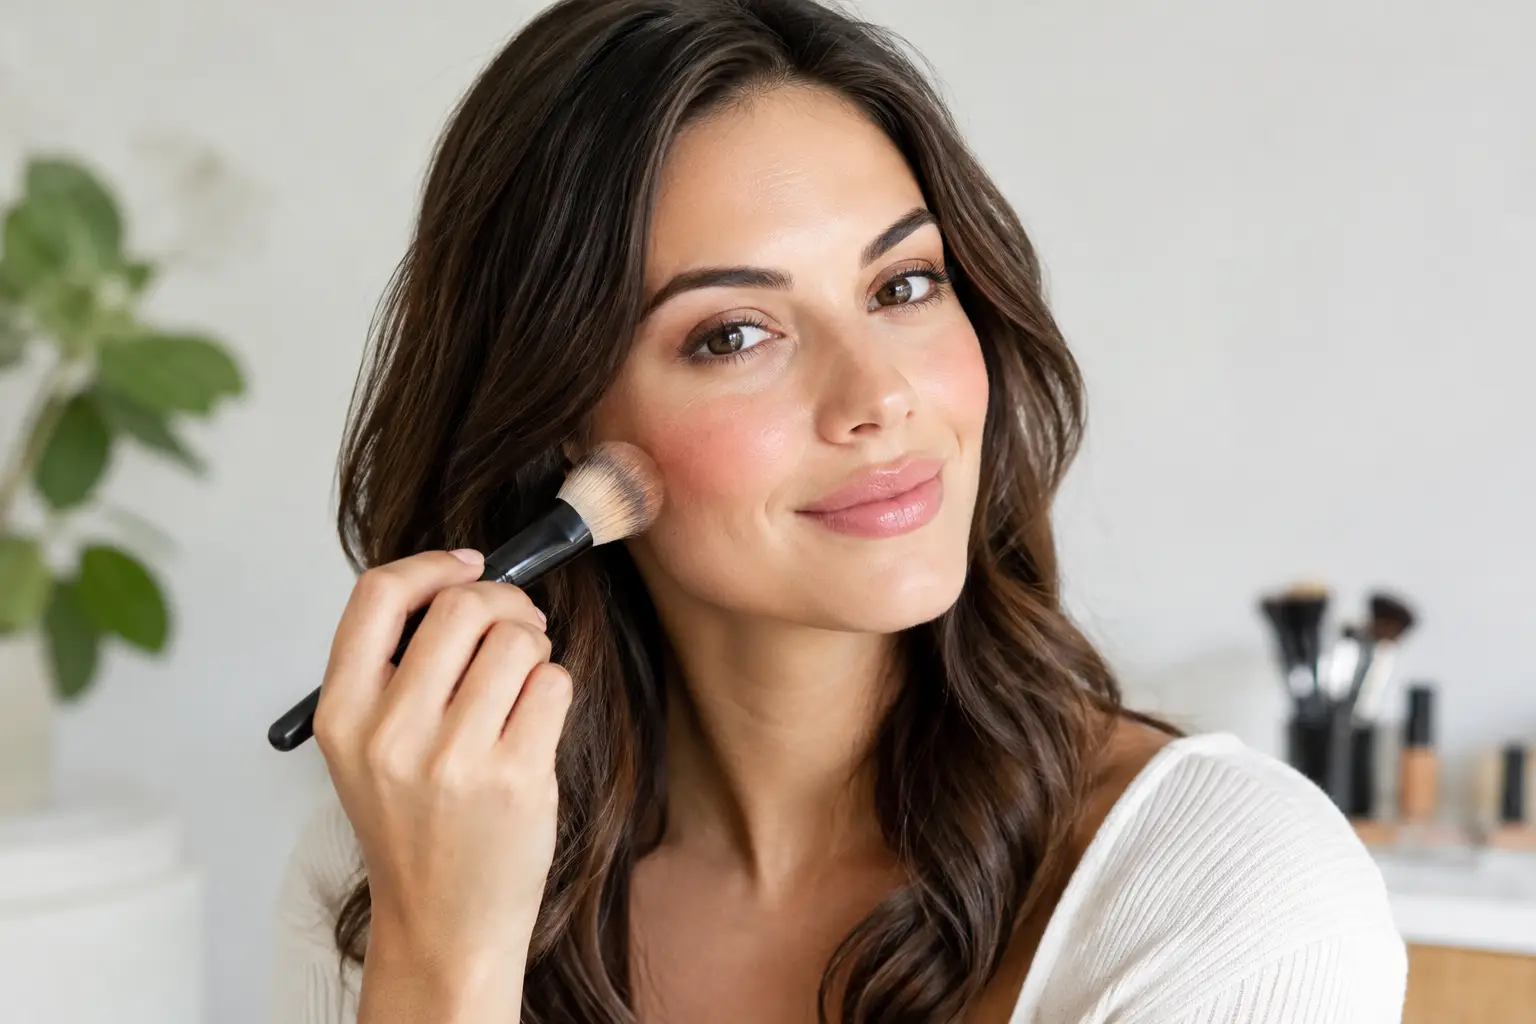
Blush, bronzer, and lip color restore warmth after complexion makeup. A muted rose, peach, berry, or warm nude lip usually translates well, but the most flattering shade depends on your undertone and natural lip color. Very pale nude lipstick can make some clients look washed out on camera, while an extremely glossy formula may create reflective highlights. A satin or soft cream finish often gives the best middle ground.
Coordinate Makeup With Your Outfit and Hair
Your makeup should feel connected to the complete image. If you are wearing a crisp white blouse, black blazer, jewel tone, or a brand color for your business, consider how those shades will sit near your face. A bright top may call for a little more balance in the lip and cheeks, while a softer neutral outfit can benefit from added warmth and definition.
Avoid selecting makeup solely because it is trending. A sharply contoured face, exaggerated overlined lip, or highly metallic eye may be perfect for an editorial moment, but it can date a professional headshot more quickly. Timeless does not mean bland. It means your image continues to feel current because the focus remains on your features, presence, and confidence.
Hair planning matters too. If you are having both hair and makeup done, ask about the order that best fits your style and travel time. Wear a button-down or wide-neck top to your appointment so you do not have to pull clothing over your finished hair and makeup. If you wear glasses in your everyday work, consider including them in at least some photos. Bring them clean, and let your photographer know so they can manage glare.
What to Bring to Your Makeup Appointment
You do not need to bring an entire makeup bag. Still, a few items make the experience more personal and practical: your final outfit or a photo of it, your glasses if applicable, any lip product you love, and details about sensitivities or allergies. If you use prescription skincare or have a product that reliably causes a reaction, mention it in advance.
A professional artist should also ask about your preferred coverage, the features you would like to highlight, and anything you do not want. Perhaps you love your freckles and want them visible. Perhaps under-eye darkness is your biggest concern, or you rarely wear makeup and are worried about looking unlike yourself. These are useful details, not difficult requests.
At Taylor Bailey Makeup Artist, the approach is personalized because no two faces, skin types, or headshot goals are the same. A calm consultation and intentional skin preparation make it possible to create makeup that wears well through your session while still looking polished up close.
Plan for Touch-Ups Without Overthinking Them
For a headshot session, bring blotting papers, a small powder compact if you use one, and your lip color for touch-ups. Blot before adding powder, especially if you have combination or oily skin. Reapplying powder repeatedly can make makeup look heavier as the session goes on.
Try not to judge your makeup only from a phone camera in a dim room. Professional lighting and a photographer’s lens show color and texture differently. Trust the preparation, communicate openly if something feels uncomfortable, and give yourself a few quiet minutes before stepping in front of the camera. The most compelling headshots do more than show a polished face. They let people see someone who is prepared to be recognized.