How to Apply Lashes Without Irritation Safely
A beautiful lash can make the eyes look brighter in person and more defined in photographs, but it should never come at the cost of burning, watering, redness, or that tight feeling along the lash line. Whether you are getting ready for a wedding, headshot, gala, or a special night out, the goal is to apply lashes without irritation while still achieving soft, polished definition that feels like you.
For sensitive eyes and skin, comfort begins long before the lash touches your lid. The right style, adhesive, preparation, and removal method all matter. A little extra care can make the difference between lashes you cannot wait to remove and lashes you forget you are wearing.
How to Apply Lashes Without Irritation
Irritation is often blamed on the lash itself, but the adhesive or application process is usually the real issue. Lashes may also feel uncomfortable when the band is too stiff, too long for the eye shape, or placed directly on the waterline instead of just above the natural lashes.
Start with a clean, dry lash line. Remove lingering skincare, eye cream, sunscreen, and makeup oils from the lid area, but avoid harsh rubbing. Oils can keep adhesive from setting properly, which tempts people to add more glue or reposition the lash repeatedly. That is when the delicate skin around the eyes can become inflamed.
If you have known sensitivities, seasonal allergies, eczema around the eyes, or a history of reactions to lash glue, do not treat a big event as the time to experiment. Schedule a trial application several days or weeks ahead, particularly for bridal makeup. A professional makeup artist can help you identify a comfortable option and refine the placement before the day photographs matter most.
Choose a lightweight lash with a flexible band
The most dramatic lash is not always the most flattering or comfortable. For a soft glam look, a lightweight strip with a clear or thin cotton band often blends more naturally and puts less pressure on the lid than a dense, heavy style. A lash with graduated length can add lift and definition while preserving the appearance of your natural eye shape.
Always measure the strip before applying it. Hold it against your lash line and trim a small amount from the outer edge if it extends past your natural lashes. A band that is too long can poke the inner or outer corner, causing watering and redness even when the adhesive is perfectly fine.
For clients who want an especially subtle finish, small clusters or individual flares can be placed strategically along the outer half of the lash line. They offer a more customized effect, although they require a steady hand and appropriate adhesive. Individual extensions are a separate service and should be applied by a trained lash professional, not attempted with strip-lash glue at home.
Select Adhesive With Your Eyes in Mind
No adhesive is right for every person. Latex can be a concern for those with a latex sensitivity, while some people react to other ingredients, fragrances, pigments, or fumes in adhesive formulas. “Sensitive” on a package can be a helpful starting point, but it is not a guarantee that a product will be non-irritating for you.
Choose an adhesive from a reputable cosmetic brand, check the ingredient list, and replace products that are old, dried out, or have changed in smell or texture. Dark adhesive can make a lash line look fuller, while clear adhesive is often more forgiving for beginners. The best choice is the one that wears comfortably and holds without requiring a thick layer.
A cautious wear test on the skin can offer useful information, but it cannot fully predict how your eye area will respond. Use a tiny amount of adhesive on the outer arm according to the product directions, then watch for itching, swelling, rash, or discomfort over the next day or two. If you have had a significant prior reaction, have very reactive skin, or are unsure about an ingredient, speak with a dermatologist or allergist rather than testing it near the eyes.
Avoid using nail glue, hair bonding glue, craft glue, or adhesive intended for lash extensions to apply a temporary strip lash. These products are not interchangeable. The wrong formula can lead to injury and may be much harder to remove safely.
Use Less Glue and Give It Time to Set
One of the most common application mistakes is applying the strip while the glue is still wet. Wet adhesive slides, spreads onto the lid, and can migrate toward the eye. It also encourages repeated adjustments that irritate the skin.
Apply a thin, even line of adhesive across the band, adding the smallest extra amount at each end. Let it become tacky before placement. The exact wait time varies by formula, so follow the label, but it is often around 20 to 30 seconds. The glue should feel sticky rather than look glossy and wet.
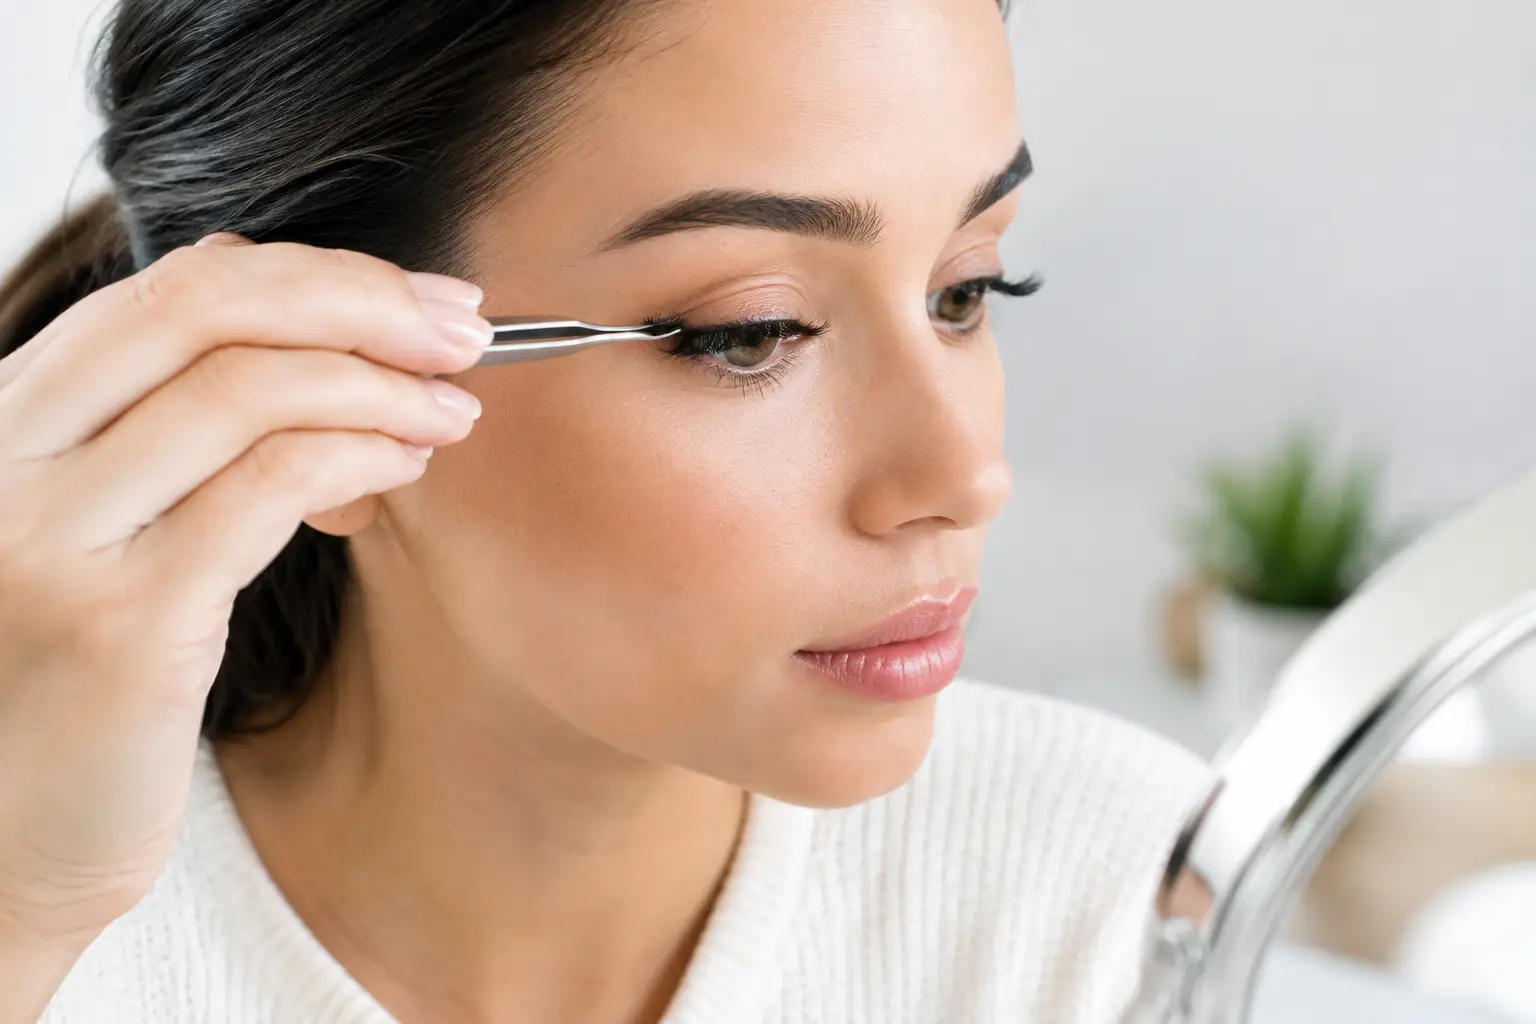
Using clean tweezers or a lash applicator, set the center of the strip just above your natural lash line. Then secure the outer corner and inner corner. Look slightly downward into a mirror rather than lifting your chin and staring straight ahead. This angle gives you more control and helps prevent the lash from sitting too high on the lid.
Do not press the band into the waterline or against the inner eye. If the inner corner is persistently uncomfortable, remove the lash and trim a tiny bit more from the outer edge before trying again. A small adjustment is far better than spending hours blinking through discomfort.
Keep tools and hands clean
Eye irritation is not always an allergy. Old lashes, unwashed applicators, and fingers that have touched hair products or skincare can transfer bacteria and residue to the eye area. Clean reusable lash tools after each use, store lashes in their tray, and never share them with another person.
If you reuse strip lashes, gently peel off old adhesive from the band after removal. Do not soak delicate strip lashes in alcohol or saturate them with oil, as that can damage their shape. Replace lashes when they lose their structure, become difficult to clean, or show visible buildup.
Know When to Skip Lashes Entirely
There are days when comfort should be the only priority. Skip false lashes if you have an active eye infection, stye, unexplained eye redness, broken skin along the lash line, or a flare of eyelid eczema. If your eyes are already watery from allergies, lashes and adhesive may not stay in place well, and the additional handling can make symptoms worse.
Remove contact lenses before applying false lashes whenever possible. You can insert clean lenses after the adhesive has fully set and your hands are washed. If anything gets into your eye, remove the lash, rinse your eye with clean water or sterile saline, and stop applying makeup. Persistent pain, swelling, blurred vision, discharge, or worsening redness deserves prompt medical attention.
For formal events, there are beautiful alternatives when strip lashes are not a fit. A carefully curled natural lash, conditioning mascara, and soft liner pressed into the upper lash line can create refined definition without adhesive. The most camera-ready makeup is never worth an uncomfortable reaction.
Remove Lashes Gently at the End of the Event
Even a perfectly comfortable lash can cause irritation if it is pulled off too quickly. Start at the outer corner and gently loosen the band with clean fingers. If it does not release easily, hold a cotton swab with a makeup remover formulated for the eye area along the band for a few seconds. Then ease the lash away slowly.
Never tug at your natural lashes or peel dried adhesive from the lid with your nails. Follow with a gentle cleanse to remove remaining adhesive, eyeliner, and mascara. Keep the skin around the eyes calm with a simple, fragrance-free eye product if that is already part of your routine, rather than introducing a new active skincare product after a long event day.
At Taylor Bailey Makeup Artist, lash application is treated as a finishing detail, not a one-size-fits-all step. The most flattering choice considers your eye shape, sensitivity, comfort level, and the kind of polished, natural-looking result you want in photos.
Your lashes should support your confidence, not compete with it. Choose comfort first, allow enough time to apply them carefully, and give yourself permission to choose a softer option whenever your eyes need it.